

- dtlta-Kitchens
Obtain your Gluten Free certification with in shared commercial kitchen
Phase 1: The Super-Important Prep Work (Laying the Groundwork)
This is where you’ll spend most of your time. If you nail this part, the actual certification process will be much smoother.
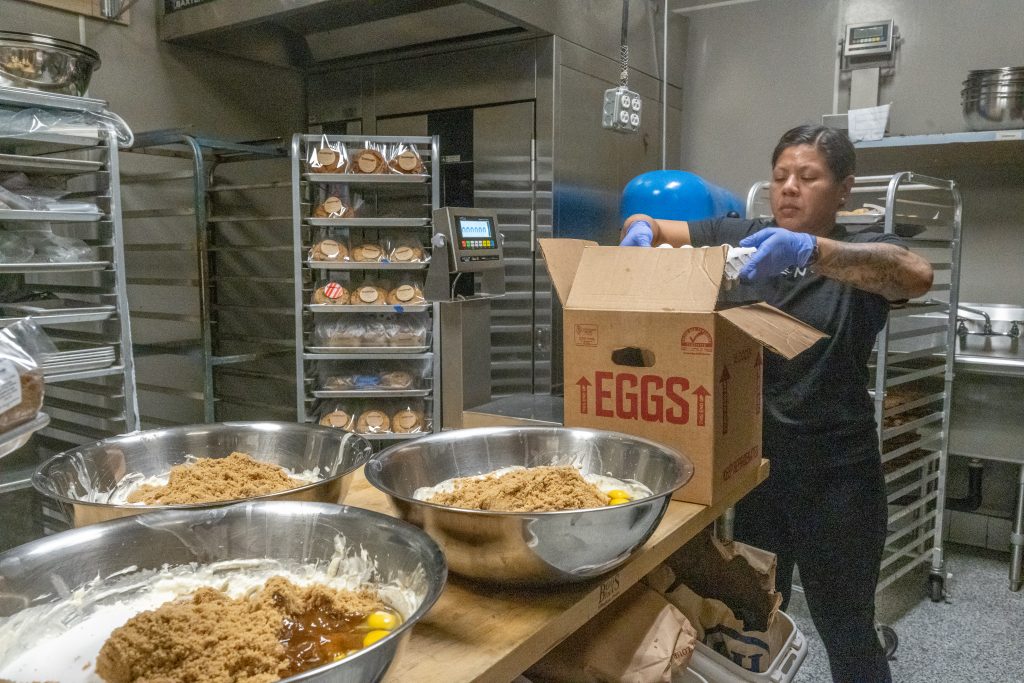
- Become a Cross-Contamination Detective: This is your #1 priority in a shared kitchen. Gluten can be sneaky—it can be in airborne flour, on surfaces, in a shared fryer, etc. You need a rock-solid plan to prevent it.
- Dedicated Storage: Get a dedicated, sealed, and labeled cabinet or rolling rack just for your gluten-free ingredients, tools, and packaging. A locked one is even better.
- Dedicated Equipment: You absolutely need your own set of tools. Think color-coded cutting boards, knives, mixing bowls, sheet pans, utensils, etc. You cannot share these with the kitchen’s general supply.
- Scheduling is Your Superpower: Talk to the kitchen manager. Can you book the kitchen first thing in the morning after it’s been deep cleaned? Can you work on days when no one else is doing heavy gluten baking? Avoiding airborne flour is crucial.
- Create a “Safe Zone”: When you’re working, clearly define your workspace. Clean and sanitize the stainless steel tables thoroughly before you start, and make sure your area is physically separate from anyone else working.
The primary factor determining the need for a cannery license revolves around low-acid canned foods. These foods are susceptible to the growth of Clostridium botulinum, a bacterium that produces the dangerous botulinum toxin. The CDPH mandates that any individual or business involved in canning low-acid foods for commercial sale must hold a valid cannery license.
Who Needs a Cannery License?
- Contact the manufacturer for every single ingredient (from flour and spices to chocolate chips and oils).
- Ask for a “Certificate of Analysis” (CoA) or a letter of guarantee stating that their product is gluten-free and manufactured in a way that prevents cross-contamination.
- Keep a binder or digital folder with all this documentation. You will need it.
- Write Your Bible (Your Gluten-Free Control Plan): This is a formal document you create that outlines every single step of your process. Think of it as the instruction manual you’ll give the auditor. It should include:
- Receiving: How you inspect and receive ingredients.
- Storing: Where and how you store everything to keep it safe.
- Preparation: Your step-by-step process for cleaning your station, prepping food, and cooking.
- Packaging & Labeling: How you package the final product to keep it safe until it reaches the customer.
- Cleaning: Your exact sanitizing procedures.
Phase 2: Choosing Your Certification Partner
- The Gluten-Free Certification Organization (GFCO): This is one of the most recognized seals. They have a high standard, requiring products to test at 10 parts per million (ppm) of gluten or less, which is stricter than the FDA’s requirement of 20 ppm.
- The Celiac Support Association (CSA): Another highly respected seal. They also have a very strict standard.
- NSF International: A well-known organization that certifies all sorts of products, including gluten-free.
Phase 3: The Official Process
Once you’ve chosen an agency, it’s time to make it official.
- Apply: You’ll fill out an application and submit your Gluten-Free Control Plan and all your supplier documentation from Phase 1. This is basically a “desk audit” where they review your policies on paper.
- The On-Site Audit: An auditor will schedule a time to come to the commercial kitchen while you are working. This is the moment of truth! They will:
- Watch you execute the procedures in your plan.
- Inspect your dedicated storage and equipment.
- Ask you a ton of questions about how you handle potential risks in the shared space.
- They might pull samples of your finished product for lab testing. This is to verify that your product is below the required gluten threshold (e.g.,
- 20 ppm=
- 20 mg gluten1 kg food
- 20 ppm=
- 1 kg food
- 20 mg gluten
- Approval (or a To-Do List): If everything checks out, you’ll be granted the certification! You can now use their seal on your packaging. If they find issues, they’ll give you a list of corrective actions you need to take before you can be approved.
Phase 4: Keeping the Seal
In a Nutshell:
Plan: Create a bulletproof plan to avoid cross-contamination in the shared kitchen.
Document: Get letters from all suppliers and write down your entire process.
Apply: Choose a certification agency and submit your application.
Audit: Pass the on-site inspection and product testing.
Maintain: Keep up the great work, because you’ll have ongoing reviews.
