
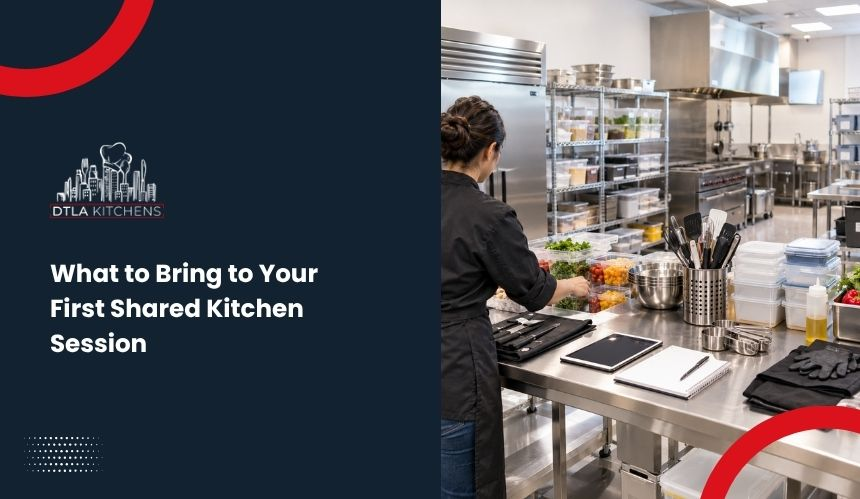
- dtlta-Kitchens
What to Bring to Your First Shared Kitchen Session
Key Takeaways
|
A first shared kitchen session can lose valuable production time if you arrive without the ingredients, tools, packaging, documents, or handling supplies your workflow requires. Unlike a private kitchen, a shared commercial kitchen provides only the equipment and resources included in its facility setup, so renters must prepare around what is actually available.
The goal is to arrive ready to move from setup to production without unnecessary delays, missing supplies, or food-safety gaps. This guide explains what to bring to your first shared kitchen session so you can plan, produce, store, and leave the facility efficiently.
Check What the Shared Kitchen Provides Before You Pack
Before packing, compare your production requirements with the facility’s actual inventory. Shared kitchens vary in equipment, storage, consumables, and operating rules, so confirming what is included prevents both unnecessary packing and production delays.
Did You Know? In Los Angeles County, a shared kitchen complex is formally recognized as a commercial food facility that provides space and equipment to multiple food businesses. Tenants may also need to submit a Shared Food Facility Supplemental Application, which makes confirming the facility’s approved equipment, storage access, and operating requirements especially relevant before the first session.
What Equipment and Smallwares Does the Kitchen Provide?
Review the facility’s equipment list against each stage of your production process. Confirm access to ovens, ranges, mixers, food processors, prep tables, sinks, scales, sheet pans, pots, utensils, and any specialty equipment your recipe depends on.
Equipment availability should also be checked by capacity, not only by type. A kitchen may have a mixer or oven available, but its size, power, or scheduling limits may not support the batch volume you plan to produce.
Is Refrigeration and Storage Included With the Booking?
Confirm whether refrigerator, freezer, and dry-storage space are included in the rental period or must be reserved separately. Some facilities provide temporary storage only during active kitchen hours, while others offer dedicated shelves, lockers, or cold-storage space for an additional fee.
Storage limits directly affect how much raw material you can bring and how long finished products can remain onsite. Knowing these restrictions in advance allows you to plan ingredient quantities, packaging, and outbound transport accurately.
Which Consumables and Cleaning Supplies Are Available?
Ask whether the kitchen supplies include commonly used consumables such as disposable gloves, paper towels, sanitizer, dish soap, trash bags, parchment paper, foil, and food-storage materials.
Do not assume these items are included because they are visible in the facility. Some shared kitchens provide them as part of the rental rate, while others require renters to bring their own or purchase supplies onsite.
What Facility Rules Should You Confirm Before Arriving?
Review operating policies that affect what you can bring and how you can work. These may include restrictions on outside appliances, allergen handling requirements, approved cleaning products, labeling procedures, loading access, waste disposal, and equipment-use rules.
Confirming these requirements before the session reduces the risk of arriving with prohibited equipment or missing a facility-specific item needed to begin production.
Bring Your Ingredients and Production-Specific Supplies
Your packing list should reflect the exact production workflow you plan to complete during the session. Ingredients, specialty tools, and packaging materials should be prepared in quantities that match the intended batch size and finished-product output.
How Should You Prepare Ingredients for the Session?
Bring all recipe ingredients in measured or production-ready quantities whenever practical. Pre-portioning dry ingredients, spices, oils, garnishes, and other components can reduce setup time and make batch execution more consistent.
Plan quantities around expected yield rather than bringing only the minimum amount required. Small backup quantities can protect the production schedule when ingredients are spilled, incorrectly measured, or lost during processing.
Which Specialty Tools Should You Bring?
Bring any production-specific tools that are essential to your recipe but are unlikely to be part of the kitchen’s standard smallwares inventory. Examples include piping bags and tips, specialty molds, calibrated thermometers, precision cutters, decorating tools, immersion blenders, or proprietary equipment used for a specific product.
Select tools based on the individual steps in your process. A missing item that appears minor can interrupt portioning, finishing, quality control, or consistency across multiple batches.
What Packaging and Labels Will You Need?
Bring enough packaging materials for the full expected production yield, including bottles, jars, bags, boxes, lids, seals, inserts, and tamper-evident components where applicable. Packaging should be compatible with the product’s temperature, moisture level, storage conditions, and distribution method.
The FDA Food Code sets a more specific benchmark for certain refrigerated products: ready-to-eat TCS food prepared onsite and held for more than 24 hours should be date-marked and, when held at 41°F or below, generally limited to seven days. Because the Food Code is a model adopted differently by jurisdictions, businesses should also verify applicable local requirements. |
Prepare required labels before the session when possible. Product names, ingredient information, allergen statements, batch codes, date labels, and other business-specific details should be ready so finished goods can move directly from production into storage, delivery, or sale.
Pack the Food-Safety and Sanitation Essentials You Are Responsible For
Food-safety supplies should support safe handling from ingredient arrival through finished-product transport. The required items depend on the product, facility policy, temperature sensitivity, and whether allergens or high-risk foods are involved.
Important: Food-safety supplies should be matched to the specific hazards in your production process. For example, refrigerated foods may require reliable cold-holding equipment, while allergen-sensitive products may need dedicated utensils, clear labeling, and separation controls to reduce cross-contact risk.
What Personal Hygiene and Protective Items Should You Bring?
Bring clean work clothing and any personal protective items required by the facility, such as closed-toe nonslip shoes, aprons, hair restraints, beard restraints, or disposable gloves.
These items reduce contamination risk and help maintain hygienic handling during prep and production. Personal protective equipment should match the task being performed rather than being treated as a substitute for proper handwashing and sanitation procedures.
Which Temperature-Control Supplies May Be Necessary?
Temperature-sensitive ingredients and finished products may require calibrated food thermometers, insulated carriers, coolers, ice packs, or other cold-holding equipment during transport.
The FDA Food Code specifies that cooked time/temperature control for safety foods should cool from 135°F to 70°F within two hours, then to 41°F or below within the next four hours. If cooling happens during a shared kitchen booking, those time limits should influence both equipment access and the length of the reserved production window. |
The practical goal is to maintain safe product temperatures before the food enters the kitchen and after it leaves. For perishable products, reliable temperature monitoring also provides a clearer basis for identifying breaks in the cold chain.
How Should You Prepare for Allergen and Cross-Contact Control?
If your production involves major food allergens, bring dedicated utensils, containers, labels, or other controls required by your process. Ingredients should remain clearly identified and separated where cross-contact could affect product safety.
A documented allergen-handling procedure can also reduce errors when multiple recipes or batches are produced in the same session. Clear separation, labeling, and tool assignment make it easier to maintain control throughout the workflow.
A 2026 FDA study found that a complete wash-rinse-sanitize-air-dry process effectively removed allergen residues and minimized transfer from food-contact surfaces. The study also found that allergens were harder to remove from textured plastic than from stainless steel or wood, making surface material relevant when planning allergen-sensitive production. |
Bring the Documents and Information Needed for the Session
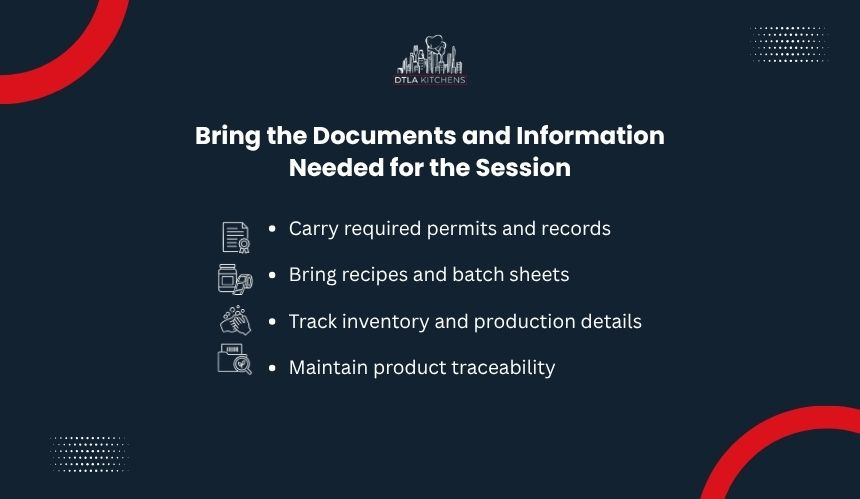
Operational paperwork can affect whether production starts smoothly and whether finished batches remain traceable afterward. Bring the records, certifications, and production instructions required by the facility, your business, and the specific products being made.
Which Permits, Certifications, or Identification Should You Bring?
Carry any documentation the shared kitchen requires for access or compliance, such as government-issued identification, food-handler credentials, business permits, insurance records, or completed onboarding forms.
Requirements vary by facility and local jurisdiction, so use the kitchen’s confirmed document list rather than assuming a certification accepted elsewhere will automatically satisfy its policies. Missing paperwork can delay check-in or restrict access to certain work areas.
Why Should You Bring Recipes and Batch Sheets?
Standardized recipes and batch sheets give you a fixed production reference for ingredient quantities, processing steps, target yields, cooking times, temperatures, and quality-control checkpoints.
Using documented instructions also reduces variation between batches. This becomes especially valuable when scaling recipes, producing multiple products in one session, or working with assistants who need to follow the same production sequence.
What Production and Inventory Records May Be Needed?
Bring any records used to track raw materials and finished products, including ingredient lot numbers, receiving information, production logs, packaging counts, batch identifiers, and yield records.
These documents support inventory control and traceability by linking ingredients to specific production runs. If a quality issue, supplier problem, or product recall occurs later, accurate batch records make it easier to identify which products and materials were affected.
Pack for Transport, Storage, and Cleanup After Production
Preparation should account for how ingredients enter the kitchen and how finished products leave it. Suitable transport containers, outbound storage materials, and cleanup supplies reduce handling problems at both ends of the production session.
Did You Know? Transport planning can affect food safety just as much as kitchen preparation. Using sealed, food-grade containers and temperature-controlled carriers helps protect ingredients and finished products from contamination, leakage, physical damage, and temperature abuse while moving between locations.
What Should You Use to Transport Ingredients?
Use sealed, food-grade containers that protect ingredients from contamination, leakage, crushing, and temperature changes during transit. Stackable bins, ingredient totes, insulated bags, coolers, and lidded containers can make loading and unloading more controlled.
Match the container to the ingredient. Dry goods need protection from moisture, while fragile, liquid, or refrigerated ingredients may require additional containment or temperature control. Carts or dollies can also reduce repeated carrying when the facility permits them.
How Should Finished Products Be Stored for Transport?
Finished products should be packed according to their physical stability, temperature requirements, and packaging format. Racks, dividers, insulated carriers, stackable crates, and protective inserts can prevent movement, compression, breakage, or temperature loss during transport.
Plan outbound capacity based on expected finished yield rather than inbound ingredient volume. Production often changes the size, shape, and handling requirements of the load, so the containers used to arrive may not be suitable for taking finished goods away.
Which Cleanup and Waste-Handling Supplies Should You Bring?
Bring any cleanup materials the facility requires renters to supply, such as designated waste bags, reusable bins for dirty tools, absorbent materials, or containers for transporting personal equipment after use.
Separating clean items, soiled equipment, food waste, and finished products at the end of the session reduces cross-contamination and makes departure more efficient. Your cleanup setup should also support the kitchen’s rules for waste disposal and workstation turnover.
Use a First-Session Packing Checklist Before You Leave
A final pre-departure check should verify that every item required for production, handling, packaging, and facility access is ready to transport. Reviewing the list against your actual workflow reduces the chance that one missing item will interrupt a time-limited kitchen booking.
What Should Be on Your First Shared Kitchen Packing Checklist?
Before leaving for the facility, confirm that you have:
- Ingredients and recipe supplies: All required ingredients, pre-portioned components, backup quantities, and recipe-specific materials.
- Specialty tools and equipment: Any personal tools, calibrated instruments, molds, cutters, or production equipment not supplied by the kitchen.
- Food-safety and personal items: Required workwear, hygiene supplies, temperature-monitoring equipment, and allergen-control materials.
- Packaging and storage materials: Containers, lids, labels, seals, insulated carriers, and transport supplies sized for the expected finished yield.
- Documents and production records: Identification, required certifications, standardized recipes, batch sheets, inventory records, and traceability information.
What Should You Confirm Before Leaving for the Kitchen?
Compare the packed items with the facility’s current equipment and reservation details one final time. Confirm that any essential appliance, workstation, refrigeration space, or storage area your production depends on is available for your booked session.
This final verification connects the packing list to the actual production plan, reducing avoidable substitutions, delays, and changes after the rental period has already started.
Ready to make your first shared kitchen session productive from day one? DLTA Kitchens offers flexible commercial kitchen solutions across Southern California, including Kitchen Studio, Part-Time, Full-Time, Bakery, Ice Cream, and Kosher Kitchen options. Find the space that fits your production needs and start cooking with a kitchen built for your business.
Frequently Asked Questions
Overrunning a reserved kitchen slot can trigger additional rental charges or conflict with the next user’s booking. Build setup, production, cooling, packaging, and cleanup into the scheduled window. If your process regularly exceeds estimates, track actual cycle times and use them to calculate more accurate future reservations.
Many shared kitchens allow additional workers, but access may depend on facility policies, food-handler requirements, insurance coverage, or occupancy limits. Confirm whether assistants must complete orientation, provide certification, or be listed on the reservation. Unauthorized helpers may be denied access even when the primary renter has an active booking.
A smaller first run can reveal differences in commercial equipment, heating rates, mixer capacity, workflow spacing, and cooling conditions before you commit to full production volume. Testing also helps validate yield calculations, timing, packaging needs, and quality-control checkpoints under the actual conditions of the shared commercial kitchen.
Ask the facility about its allergen procedures, sanitation protocols, and equipment-use history where relevant. For products requiring strict cross-contact control, shared equipment may present limitations even after routine cleaning. Dedicated utensils, verified sanitation steps, production sequencing, and clear allergen labeling can reduce risk, but facility capability should be confirmed first.
Storage depends on the facility’s rental agreement and available refrigerated, frozen, or dry-storage capacity. Do not assume leftover ingredients can remain onsite after your session. Unapproved items may be discarded. Arrange reserved storage in advance or plan transportation that maintains required food temperatures and protects products until they reach their next destination.
Arrival timing should account for check-in, unloading, workstation setup, and any required orientation without consuming production time unexpectedly. Some facilities restrict entry before the booked period, while others allow a short loading window. Confirm access rules beforehand and organize ingredients and equipment so unloading follows the planned production sequence.